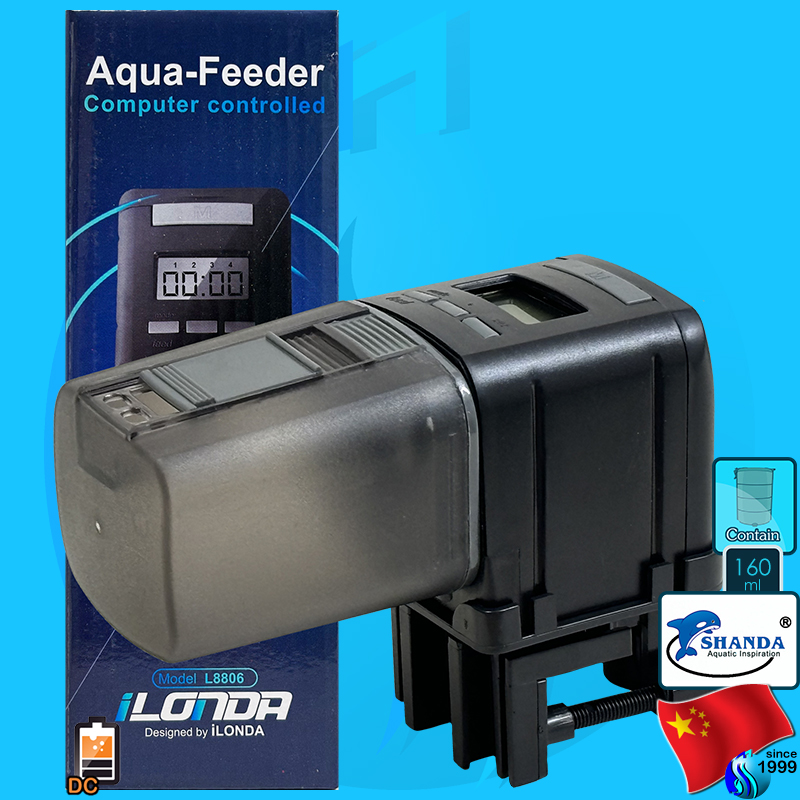
Shanda iLonda Aqua-Feeder L8806
Micro computer controlled aquarium feeder, suitable for flake and pellets feed. The feeder can be set 4 feeding times daily at most. Energy saving, powered by 2 AA batteries (not included). It can work up to 1 year when you set 2 feeding times per day.Extensive user's manual enclosed.
Function setting
1. General Function Buttons
1) mode/feed button: Feeding time from 1 to 4 can be chosen by this button.
2) set button: After pressing the mode/feed button, set button allows the respectively displayed times to be chosen.
3) + button: After pressing the set button, the effected symbol (either hours or minutes) blinks respectively and it can be set to a higher number with + button.
4) M button: For feeding outside the programmed with programmed times, press the M button, which allows the rotating of the container to be triggered manually.
2. Operating Instruction
1) Programming Local Time:
a. Press set button, hours blink, then press + button to set the hours.
b. Press set button, minutes blink, then press + button to set the minutes.
2) Programming feeding time:
a. Press mode/feed button, LCD displayed --,-- It means to enter the program feeding time1.
b. Press set button, hours blink, then press + button to set the hours.
c. Press set button, minutes blink, then press + button to set the minutes.
3) If you want to cancel the program, then press + button, --,-- appears on the LCD.
4) To program feeding time 2 to 4, the procedure is the same as program feeding time1.
5) After programming feeding time, please press mode/feed button sequentially to check the feeding time and dispensing times. (The LCD will show the feeding time and dispensing times that you set respectively)
Filling setting
1) Filling:
Take out the container unit length wise and remove the cover on the back. Clean the drum and fill a amount of feed. Then place the cover back on and inset the drum unit onto the axis. (This Micro-Computer controlled Auto-Feeder is suitable for dry feed such as flake food and granulates. Do not use for lived or freezed feed)
Desiccant installation
1) Fold the desiccant.
2) Place the folded desiccant in the installation place of back cover.
3) Fasten the buckle.
2. Feeding amount:
By adjusting the slider, the container opening can be varied in order to drop the required amount of feed.
Installation settings
1. Battery:
Please use 2 xAA 1.5V alkaline batteries. Do not use rechargeable or carbon batteries.
2. Positioning:
1) Affix the feeder with double-side stickers on the fish tank cover.
2) Fixed on stiffened glass plate or surface edge by bracket.
3) Fixed bracket installation instruction:
1. Align the slots (Notice the round and right angles) and press the feeder down by using palm strength.
2. Insert the bracket slot.
Precautions
1. Why does the LCD screen of the feeder do not display?
Please check that the batteries are installed correctly. Try to use alkaline batteries and ensure that the batteries are fully charged.
2. Why does not the feeder work after the time has been set?
1) I can hear the motor turning but the feeder does not work. In this case, the transmission gear is disengaged because the user strongly twists the feeder container and the transmission can not work properly.
This problem can be solved by removing the housing cover and pressing the transmission gear to restore normal transmission.
2) I can not hear the motor turning, but the LCD screen can show correctly. Please check the transmission gear as above.
3.Why is the minute bit of the feeder turned into a timer when the feeder is set correctly? Why does the feeder container turn only about 1/4 to 1/2 when the feeder works?
This situation is mainly due to IC chip charging is not completed before the feeder working. Please remove the batteries to fully discharge the feeder then re-install the batteries. Please pause for about 5 seconds before setting time.